 Give us a call! (980) 329-2133
 Get a Free Estimate

DIY HVAC Maintenance: 5 Simple Steps to Enhance Your System’s Efficiency
Replace Your Air Filter Regularly
When it comes to maintaining your heating and cooling system, few tasks are as simple yet impactful as replacing your air filter. This small component plays a critical role in system performance, directly affecting airflow, energy consumption, and indoor air quality throughout your home.
In Gastonia, where humidity levels fluctuate seasonally and pollen counts can spike during spring and fall, air filters work overtime to trap contaminants. A clogged filter forces your system to work harder, increasing energy bills and reducing efficiency by up to 15 percent. Most residential systems require filter changes every one to three months, depending on usage patterns and household conditions.
Locate your filter by checking the return air vent or the blower compartment inside your unit. Before purchasing a replacement, note the size printed on the filter frame. Standard options include fiberglass, pleated, and high-efficiency filters. Pleated filters typically offer better filtration without significantly restricting airflow.
To replace the filter, turn off your system at the thermostat. Slide out the old filter, noting the directional arrows that indicate proper airflow. Insert the new filter with arrows pointing toward the ductwork or blower. A proper seal around the edges prevents unfiltered air from bypassing the media.
Consider setting a reminder on your phone or marking your calendar to check the filter monthly. Visual inspection helps you determine the actual replacement frequency needed for your specific conditions. If you have pets, smoke indoors, or run your system continuously, you may need more frequent changes.
Clean the Outdoor Condenser Unit
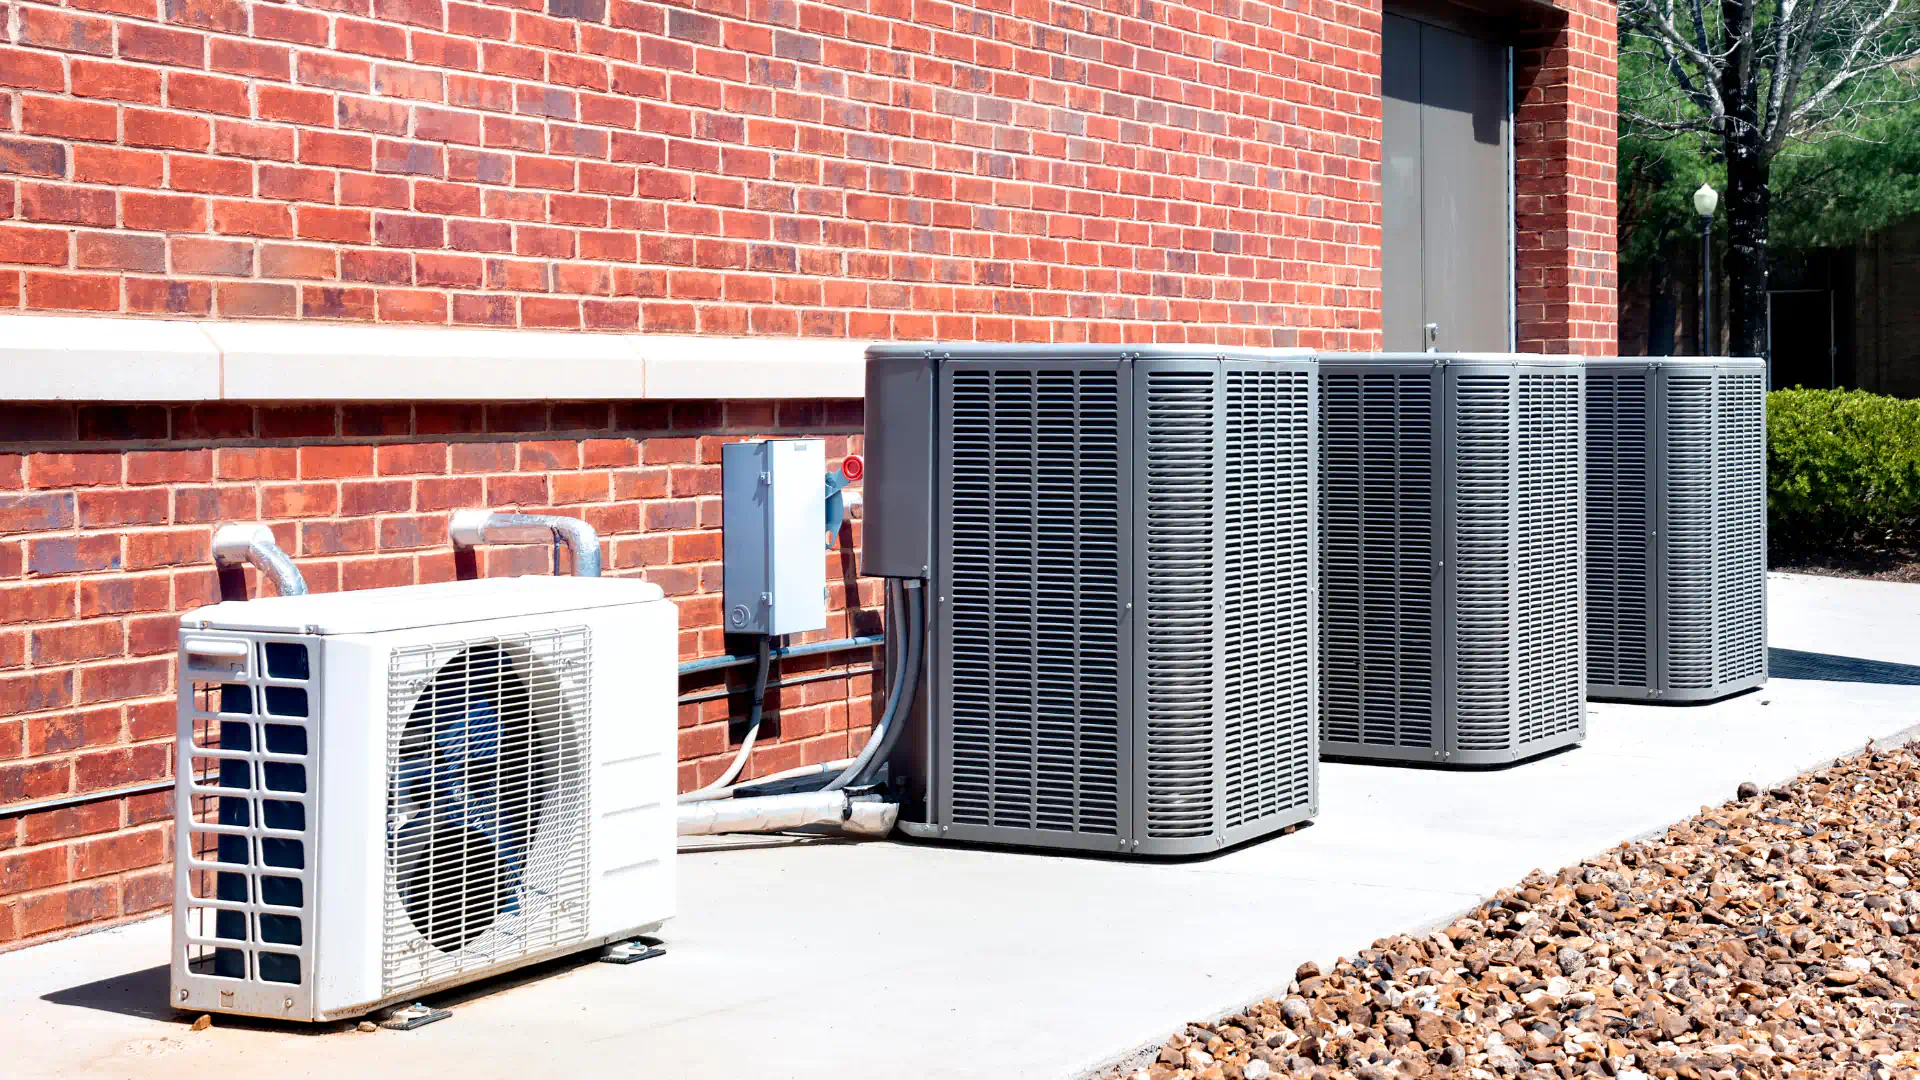
Your outdoor condenser unit works year-round to release heat from your home during cooling months and absorb heat during heating cycles. Over time, dirt, leaves, grass clippings, and other debris accumulate on the fins and coils, restricting airflow and reducing heat transfer efficiency.
North Carolina’s climate brings challenges that affect outdoor units differently throughout the year. Spring pollen coats equipment surfaces, summer storms deposit debris, fall leaves collect around units, and winter weather can cause ice buildup. Regular cleaning prevents these issues from compromising system performance.
Start by turning off power to the unit at both the thermostat and the exterior disconnect switch near the condenser. Remove any visible debris from around the unit, including leaves, grass, and plant growth. Trim back vegetation to maintain at least two feet of clearance on all sides for proper airflow.
Using a garden hose with a spray nozzle, gently rinse the exterior coils from the inside out. Avoid using a pressure washer, as the high pressure can bend the delicate aluminum fins. Work from top to bottom, ensuring water flows outward through the coils rather than pushing debris deeper into the unit.
Inspect the fins for damage or bending. If you notice bent fins, a fin comb tool can help straighten them, restoring proper airflow. Check the concrete pad beneath the unit for levelness, as settling can cause the unit to tilt, potentially affecting refrigerant flow and compressor operation.
Plan to clean your outdoor unit at least twice yearly: once before cooling season begins and again before heating season starts. If you live near construction sites or agricultural areas in the Gastonia region, you may benefit from more frequent cleaning due to increased dust and particulate matter.
Clear Vents and Registers
Supply and return vents serve as the connection points between your ductwork and living spaces. Dust, pet hair, and household particles accumulate on these surfaces, restricting airflow and circulating contaminants every time your system runs. Keeping these components clean improves both efficiency and indoor air quality.
Begin by identifying all supply vents (which blow conditioned air into rooms) and return vents (which draw air back to the system). Most homes have supply vents in each room and fewer, larger return vents in central locations or hallways.
Remove vent covers by unscrewing or unclipping them from the wall or ceiling. Take them to a sink or bathtub and wash with warm, soapy water. A soft brush helps remove stubborn buildup from the louvers and grilles. Rinse thoroughly and allow to dry completely before reinstalling.
While covers are removed, use a flashlight to inspect visible ductwork for dust buildup or debris. Vacuum the first few inches of accessible duct using a hose attachment, but avoid pushing debris deeper into the system. If you notice significant buildup, mold growth, or pest evidence, professional HVAC maintenance services can provide thorough duct cleaning.
Wipe down the wall or ceiling area around each vent opening before reinstalling covers. This prevents dust from being drawn into the system during the next cycle. Make vent cleaning part of your regular housekeeping routine, ideally every two to three months, or more frequently if you notice visible dust accumulation.
Pay attention to rooms that seem harder to heat or cool than others. Blocked or dirty vents often contribute to these comfort issues. Ensure furniture, curtains, and other items do not obstruct airflow from supply vents, as this creates pressure imbalances and forces your system to work harder.
Inspect and Calibrate Your Thermostat
Your thermostat functions as the command center for your heating and cooling system, communicating temperature demands and controlling when equipment cycles on and off. Proper calibration and settings directly impact comfort, energy consumption, and equipment longevity.
Start by verifying your thermostat location. It should be mounted on an interior wall away from direct sunlight, drafts, doorways, windows, and heat sources like lamps or appliances. Poor placement causes false readings that trigger unnecessary heating or cooling cycles.
Check the accuracy of your thermostat by placing a quality thermometer next to it and comparing readings after 15 minutes. If the variance exceeds two degrees, your thermostat may need recalibration or replacement. Many modern programmable and smart thermostats include calibration settings in their menus.
Review your programmed schedule to ensure it matches your current routine. Seasonal changes, work schedule shifts, and lifestyle adjustments may require updates to maximize savings without sacrificing comfort. Set temperatures back seven to ten degrees during periods when your home is unoccupied or while sleeping to reduce energy waste.
Clean the thermostat interior if you have an older mechanical model. Turn off power at the breaker, remove the cover, and gently brush away dust from components using a soft brush or compressed air. Dirty contacts can cause erratic operation or prevent proper communication with your equipment.
For battery-powered thermostats, replace batteries annually or when the low battery indicator appears. Weak batteries can cause settings to reset or prevent the thermostat from calling for heating or cooling. Keep fresh batteries on hand to avoid system interruptions.
If you are still using a basic non-programmable thermostat, consider upgrading to a programmable or smart model. These devices pay for themselves through energy savings while offering enhanced control and convenience. Professional thermostat repair services can help with installation and setup to ensure optimal performance.
Check the Condensate Drain Line
As your air conditioning system removes heat from indoor air, it also extracts moisture through condensation on the evaporator coil. This water collects in a drain pan and exits through a condensate drain line. When this drainage system becomes clogged, water backs up and can cause significant damage to your equipment and property.
Gastonia’s humid summers create conditions where condensate production peaks, making drain line maintenance particularly important during cooling season. A single day of operation can produce several gallons of condensate that must drain properly to prevent overflow.
Locate your indoor air handler or furnace and find the condensate drain pan beneath the evaporator coil. Inspect the pan for standing water, rust, or algae growth. Small amounts of water during cooling operation are normal, but persistent standing water indicates a drainage problem.
Follow the drain line from the pan to where it exits your home. Most systems use PVC piping that terminates outdoors near the foundation or connects to a floor drain or utility sink. Check the exterior end of the line to verify water flows freely when the system operates.
To clear minor clogs, locate the access vent on the drain line (typically a T-shaped fitting with a removable cap). Pour a mixture of one cup white vinegar and one cup warm water into the line. The vinegar helps dissolve organic buildup and prevents future algae growth. Perform this simple treatment every one to three months during cooling season.
For stubborn clogs, a wet/dry vacuum can be used at the exterior end of the drain line. Create a seal around the pipe opening with a rag and apply suction for several minutes to pull debris through. If water still does not drain properly after these attempts, professional service may be necessary to clear the obstruction.
Consider installing a safety switch on your condensate drain pan if your system does not already have one. This device automatically shuts down your air conditioning if water levels rise too high, preventing overflow damage. While these maintenance steps help maintain efficiency, some situations require professional attention. Our team provides HVAC maintenance services throughout the Gastonia area, ensuring your system receives the thorough care it needs to perform reliably year after year. With decades of experience serving local homeowners, we understand the specific challenges North Carolina’s climate presents and deliver solutions that keep your comfort system running at peak efficiency.